Black and white handmade design sketches for a blini pan.

Sketching pots and pans with the 50s in mind

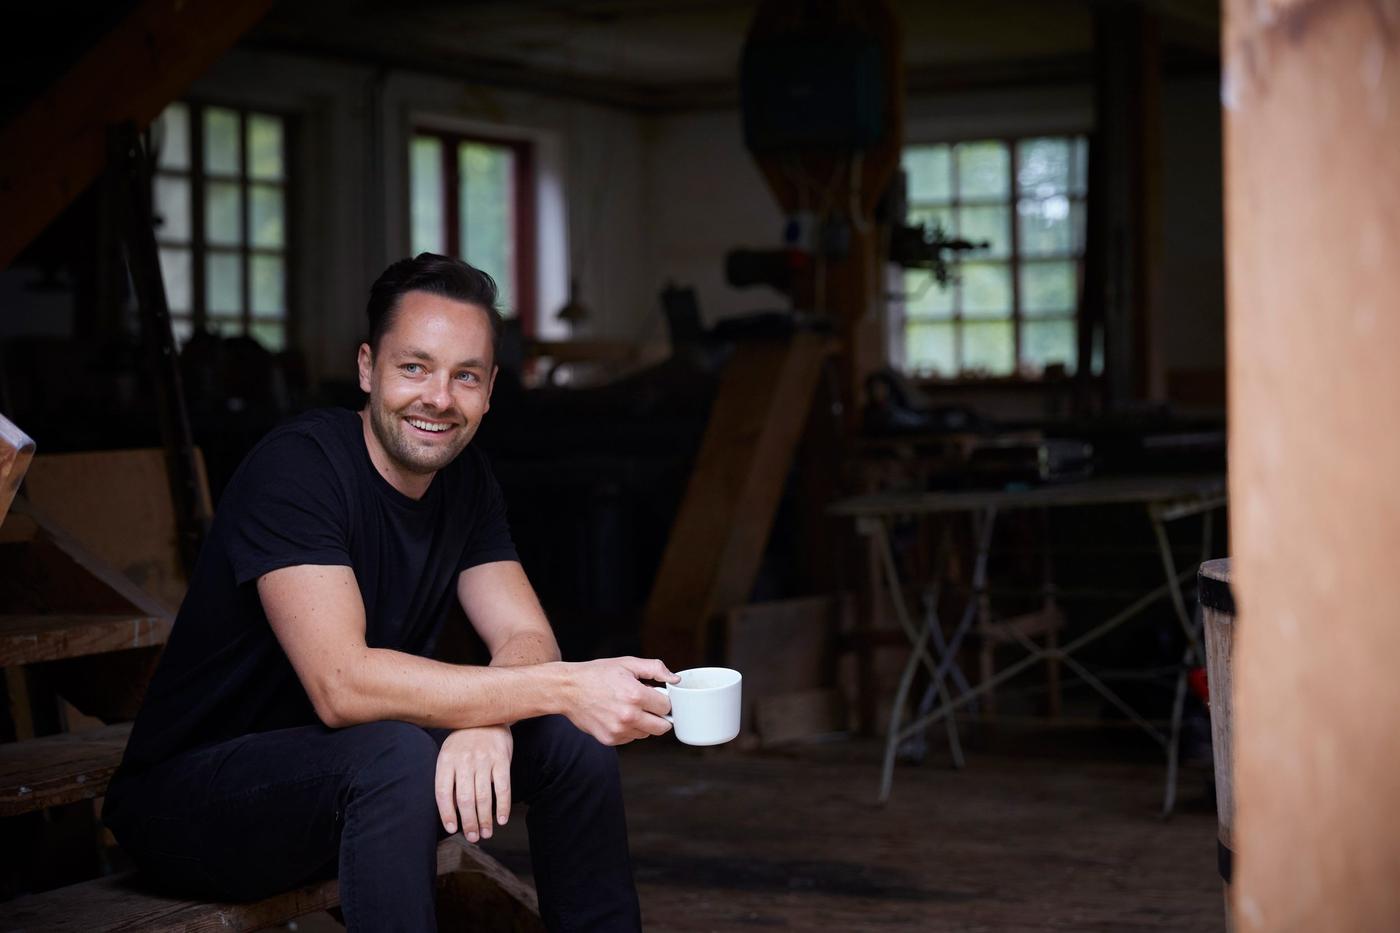
When Mikael started designing the new cast-iron cookware VARDAGEN, he kept coming back to the old everyday pots and pans in his own kitchen. We talked to the IKEA designer about combining a 50s approach with modern 3D printing techniques.

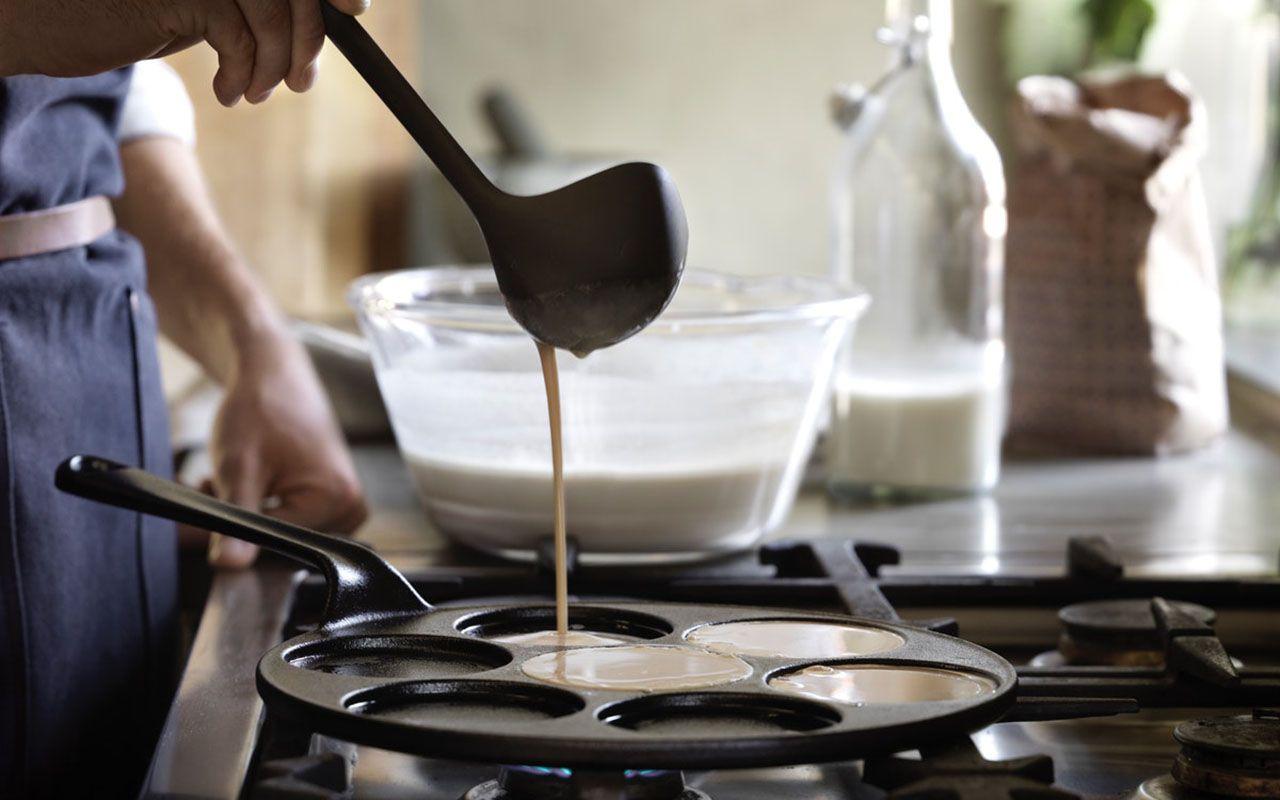
If you peek into Mikael’s own kitchen cabinets, you will find cast-iron cookware from the 50s. Some of them came with an old building he turned into a workshop. He cleaned and re-seasoned the pots and pans, and now they are the ones he uses for his go-to chickpea casserole. When Mikael Axelsson, designer at IKEA, started to work on the new VARDAGEN series of pots and pans he researched kitchenware from different periods but kept coming back to his own kitchen, and the durable cast-iron cookware from the 50s.

“The pots and pans from the 50s are really durable, without coating or wood details, which I really like. They were made to last for a really long time. Cast-iron is also really tactile and has a beautiful texture to it. The ones I have at home, which are quite numerous, get better over time. I have a really old pan that I use for pancakes. It has been used a lot and is really smooth,” says Mikael.

Black and white handmade design sketches for a pancake pan.


Black and white handmade design sketches for a frying pan.


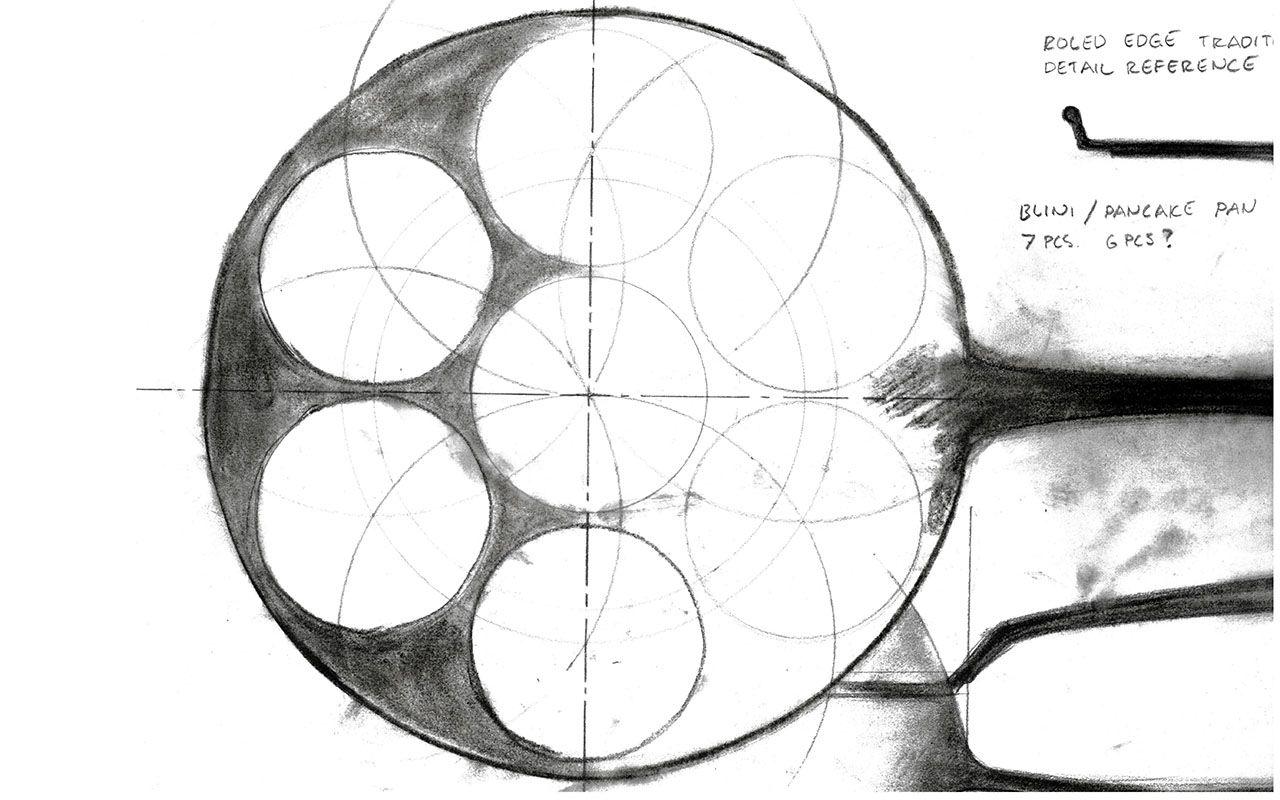
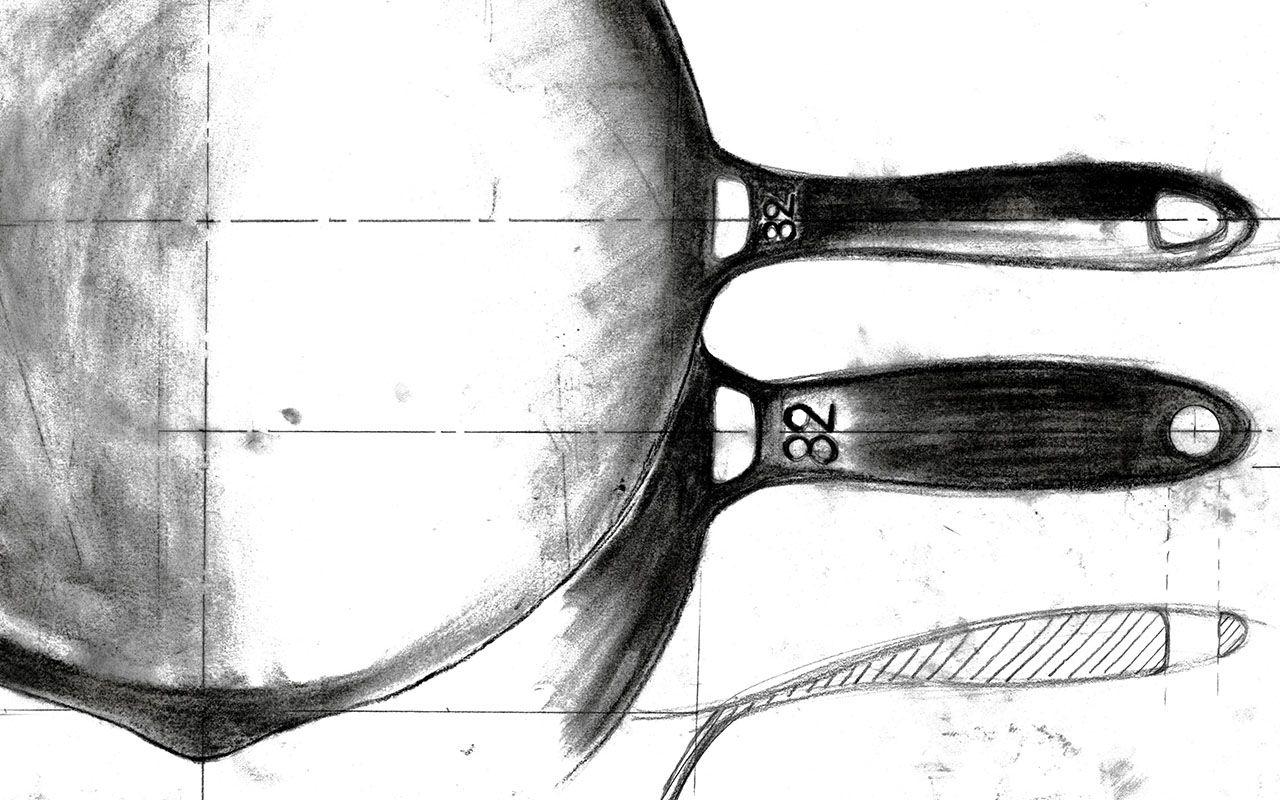
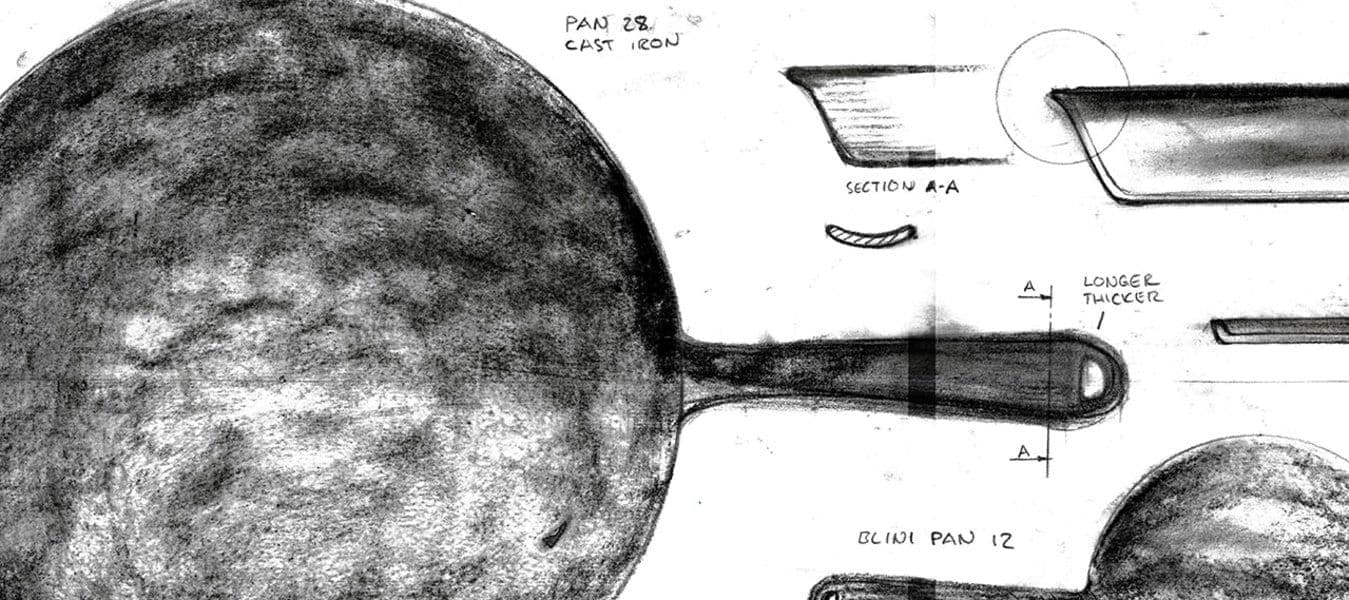
Mikael started with sketching some ideas, where he combined the traditional and straightforward style with insight from IKEA customers.

“We got a lot of consumer insights regarding the weight. Cast-iron is really heavy, and you need to keep that in mind all the time. We wanted to make VARDAGEN really ergonomic, for example, we put two handles on the biggest ones,” says Mikael.

In what way is VARDAGEN more ergonomic?

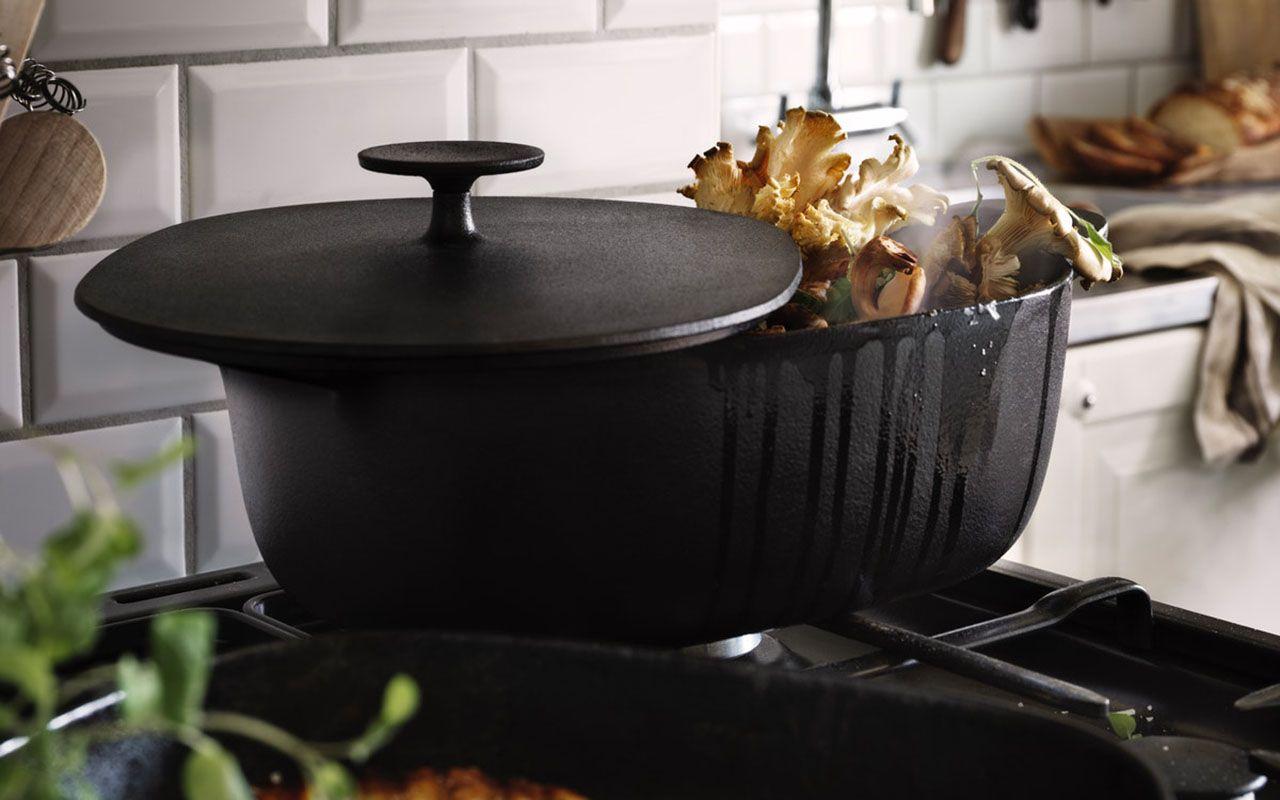
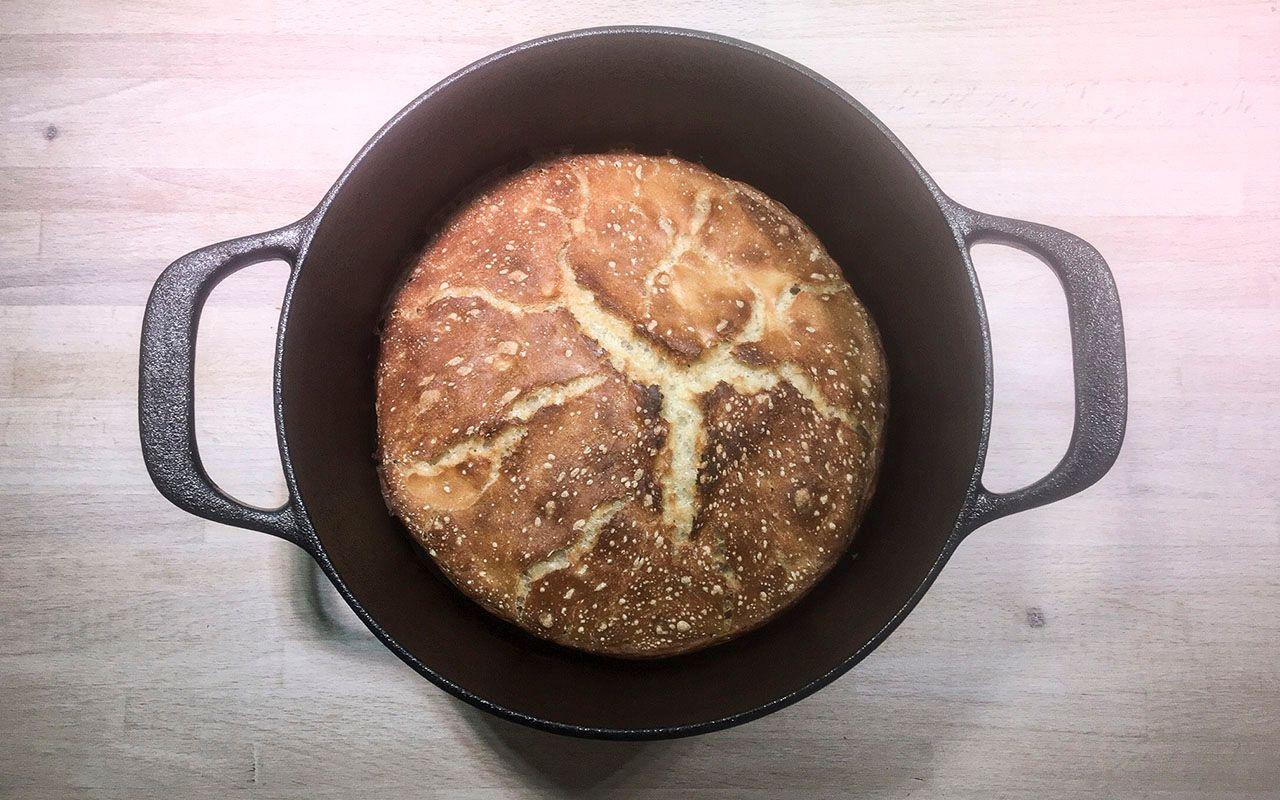
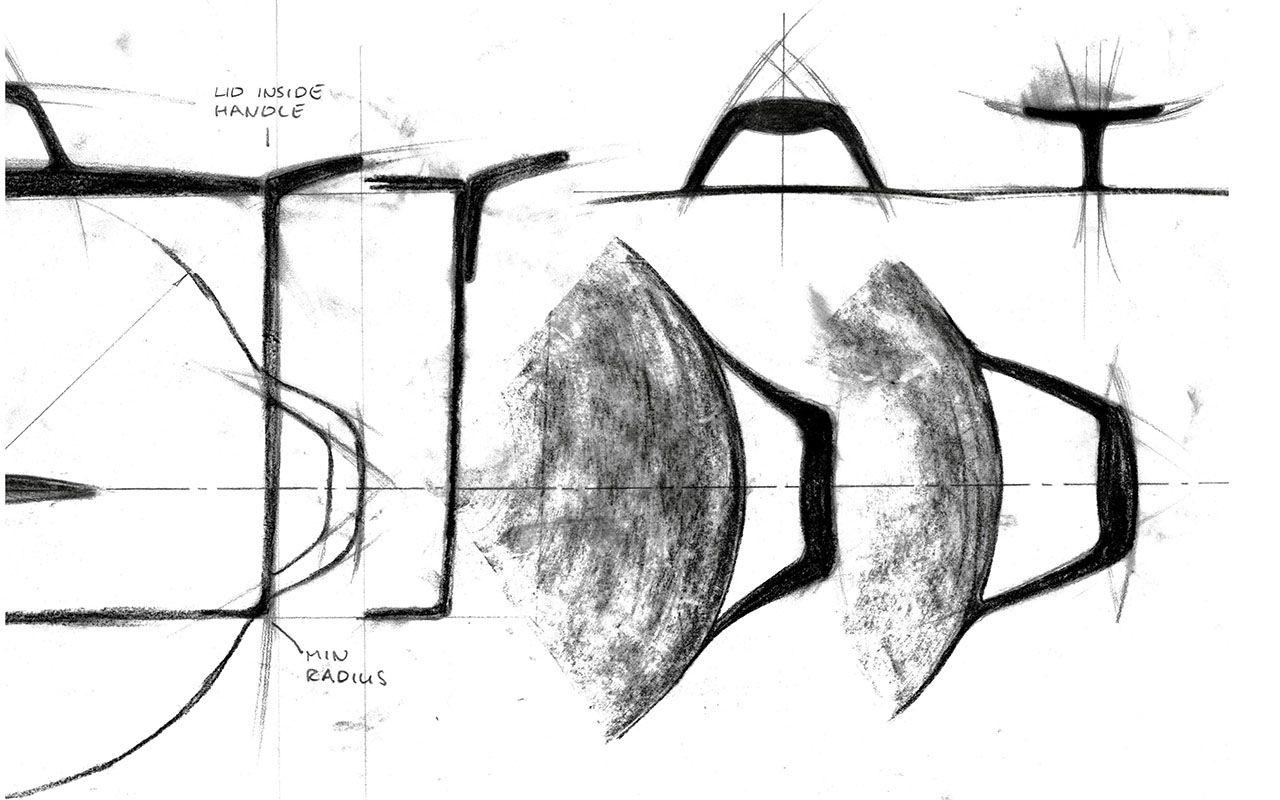
“For the pots, it’s about having a nice grip. The angles underneath the handles play a big role as well as size proportion and transition between body and handle. I also find it really important to have a well-balanced lid together with a flat top of the pot. This way you can place the lid off-center giving you access to the contents without risking the lid falling off. We also designed the lid in a way so that you can serve the food while the lid hangs securely on the side. For the pans, the long handle needed a nice thumb grip, palm support, and finger grip.”

Man holding coffee mug sitting on porch, smiling.

Mikael and his team used new 3D software to create prototypes. Looking back, he thinks he made at least one hundred prototypes where he tried both various shapes and different kinds of handles.

“I always try to find the most efficient way to develop the product, in this case 3D printing. I added a weight equal to the volume in cast iron. Eventually you need to make a prototype in cast iron to be able to evaluate it properly, but this is done late in the process with only minor adjustments. When it comes to something you hold in your hand and interact with, this is the only way to do it to reach a good end result.”

The 3D technique together with a modern manufacturing process has helped them a lot in the design process.

“If you look at old pots and pans the handle often looks glued on to the body, with very sharp transitions. The manufacturing process today lets you do really smooth shapes. As long as the melted cast iron can reach all the cavities in the mold you can do pretty much whatever you like. We focused on making a surface with smooth transitions between body and handle, utilizing the full potential of modern 3D computing and manufacturing methods,” says Mikael.

Break baked in a cast iron pot.


Black and white handmade design sketches for a casserole with lid.


When they had their first prototypes, they still wanted some more input. They decided to consult the experts and reached out to a couple of chefs and asked if they could try out the VARDAGEN prototypes and give them their opinion about volume, diameter, lid functions and balance.

How did you work witch Democratic Design when designing VARDAGEN?

“Democratic Design is always present. You always have form, function, quality, sustainability, and low price in mind. I see this as a tool, but it is also a big challenge. It is usually easier to design an expensive and nice sofa than an equally nice but affordable sofa.”

A VARDAGEN blini/pancake pan and a man pouring batter into it.


A VARDAGEN casserole with lid filled with boiling mushrooms on a stove.


Have you designed a lot of cooking ware before?

“The nice part about being an in-house designer at IKEA is that you don’t have a specialty. One day you can design a sofa, while the next day pots and pans. I have not designed a lot of cooking ware, but I find it really fun and challenging to design basically anything for the kitchen since it’s so much function and ergonomics involved. However, I have designed coffee and tea sets, as well as the TORHAMN kitchen and the GLADELIG dinnerware. Which, by the way, all work nicely together with VARDAGEN!”

All VARDAGEN cast iron pots and pans will be in stores, October 2020.


BEETROOT AND MUSHROOM STEW

Serves 6

3 red beetroot

3 yellow beetroot

2 tablespoons rapeseed oil

300 g mixed mushrooms, cut into generous pieces

3 yellow onions, peeled and quartered

2 garlic cloves, crushed with the skin on

1 bay leaf

1 sprig of thyme

1 sprig of rosemary

1 tablespoon red wine vinegar

600 ml red wine

400 ml vegetable stock

To serve:

thyme leaves

parsley leaves

sea salt flakes and black pepper

grilled bread and butter

• Peel the beetroots and cut them into big chunks. Half the onions and peel them. Clean and trim the mushrooms and cut them into chunks.

• Put a cast-iron pot on the stove on high heat. Pour in the oil and add the mushrooms when the oil begins to smoke and let them take on colour, stirring occasionally.

• Add the onions and fry until they begin to soften and take on colour as well, around 5 minutes.

• Add the beetroots, garlic cloves, rosemary, bay leaf, and thyme and stir a few times. Add the vinegar and wait for 1 minute for it to be fried off and absorbed by the vegetables, stirring constantly to stop it from burning. Pour in the wine and vegetable stock, turn down the heat and leave to simmer for one hour.

• Remove from the heat and tear in some thyme and parsley. Season with salt and pepper to taste. Serve with some grilled bread and butter.


TARTE TATIN

Pastry:

220 g plain (all-purpose) flour

2 teaspoons baking powder

1/2 teaspoon salt

150 g cane sugar

200 g unsalted butter, chilled

2 eggs

Topping:

6 medium apples, peeled and cored

juice of 1/2 lemon

150 g cane sugar

70 g unsalted butter

To serve:

ice cream

vanilla custard

• Sift the flour and baking powder into a mixing bowl, then add the salt and sugar. Add the cold butter and rub it into the flour until it has a somewhat sandy consistency. Add the eggs and mix until the dough is lovely and soft. Cover in cling film (plastic wrap) and leave in the refrigerator for at least 30 minutes.

• Heat the oven to 200 °C

• Cut the apples into thick wedges and place them in a mixing bowl with some lemon juice to stop them from going brown while you complete the other steps.

• Put a cast-iron pan on the stove on medium heat, add the sugar and butter and melt together. Add the apple wedges and leave to simmer on medium heat for around 15 minutes. Stir occasionally to ensure the apples do not stick. Remove the pan from the heat

• Roll the dough out into a circle and place it on top of the apples as a loose lid. The edges should be a fair size and hang down the edge of the pan. Press the dough gently down onto the apples and tuck the edges of the pie crust into the pan and prick with a fork.

• Place the pan in the oven and bake the tarte tatin for 20 to 25 minutes, until the crust is golden brown.

• Run a knife around the edge of the pie crust to separate it from the pan.

• Be very careful in this step! Place a plate over the top of the skillet. Using oven mitts, grip the plate and the skillet and swiftly turn them both over so the plate is on the bottom and the skillet is on top. Gently lift the skillet away.

• Serve the Tarte Tatin warm with ice cream or vanilla custard on the side.

Topics